
The filter key functions in @Analyst allows for a grouping and selection of measurement points. It is a powerful tool when using reporting and filtering. The filter keys are also used to select measurement points for export or even to identify points for data mining purposes.
Filter key are created by the user and when created, the filter keys are connected to the measurement points either by using the point properties for a single point or by using the Modify by attribute function.
When the filter keys are created, these filter keys need to assigned to a measurement point or to a group. The function keys are inherited from from the top down. When a filter key is assigned to the group, all the machines and measurement under that group inherit the same function key. A measurement point can have multiple filter keys assigned to it.
Add a filter key to a single point
Open the Hierarchy
- select the point for the export
- The filter key is assigned on the Point properties
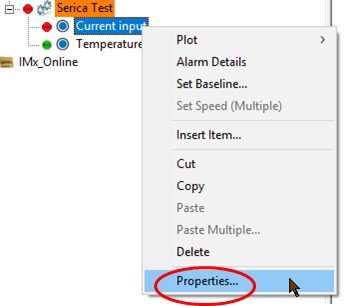
- Right – Click on the point name opens the dialog on the right
- Select Properties
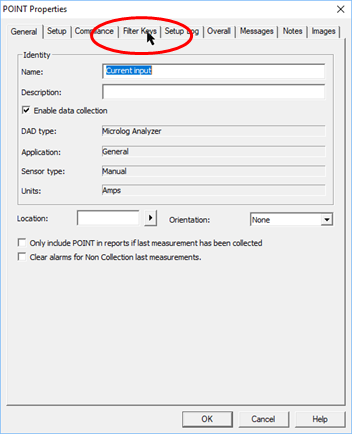
When the point properties page opens select the Tab "Filter Keys"
When the filter key tab is open:
- A tick mark before the text enables the filter key for the selected point.
- The assigned filter key also has a “Yes” in the column assigned
- A point can have multiple filter keys assigned
Select [OK] when ready
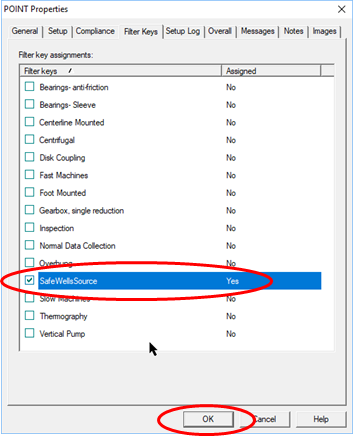
The filter key tat are assigned to the point are marked by the tick mark and the wrod "Yes" in column assigned.
Assign filter keys to multiple points
When modifying multiple points:
- Create a selection of the points to be modified
- Make sure that the changes are added correct
- Use a “Workspace" for the selection
- A workspace uses links to the points
- A point can be part of multiple workspaces
- Workspaces can be stored for future use
- Dynamic workspaces are based upon the information in the points
Creating a workspace
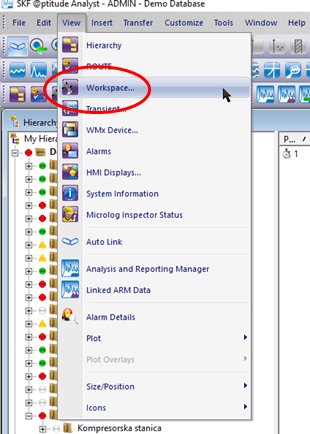
Select:
- View
- Workspace
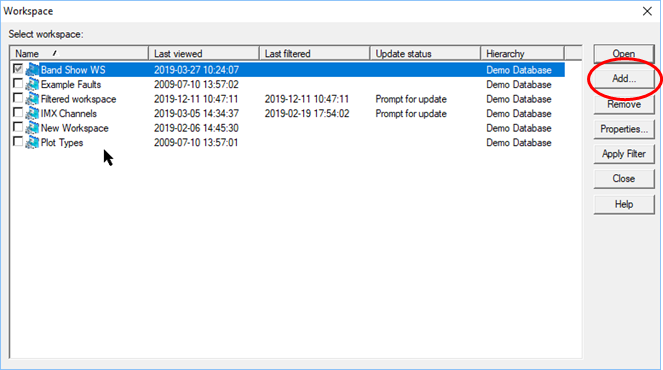
The stored workspaces are shown in the table:
- Select [Add] to create a new workspace
Create a workspace
- Name the workspace
- Enter a description to explain the use of the workspace
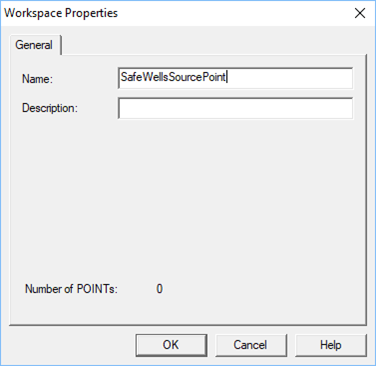
The new creatd work-space is empty.There is only the name of the work-space as a top Node visible.
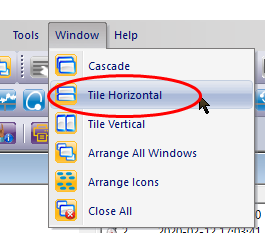
To allow a drag and drop for inserting the machines and points in the work-space, it is easiest to tile the windows in Analyst. This is done in the Window menu.
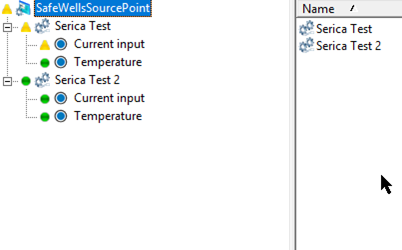
Drag and drop the machines
- Drop on the Name of the workspace
- When all machines and points are added
- Check the points
- Maximize the workspace
- Points can be deleted from the workspace
-These are not deleted from the Hierarchy

In the workspace, select the top node:
When the top node is selected, open the modify by attribute from the Edit menu: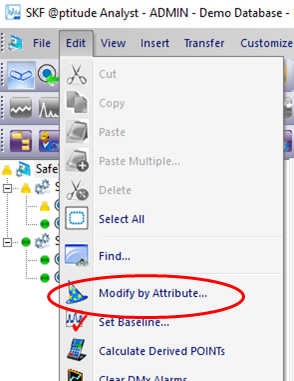
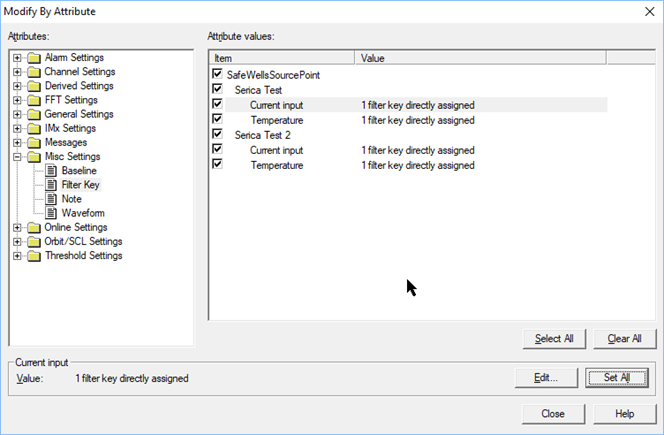
In the modify by attribute dialog:
-Select [ Misc Settings ]
-Select [ Filter Key ]
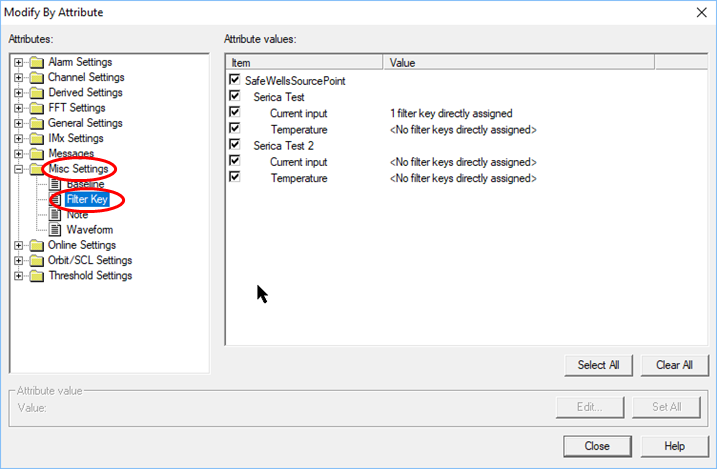
Then select the Edit button :
- The filter key dialog opens
- Select the required filter key
-SafeWellsSource
- Select the [ OK ] button
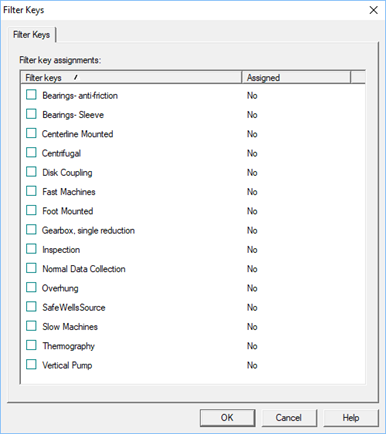
- This assigns the filter key to the point
- this is indicated by
- “1 filter key directly Assigned”
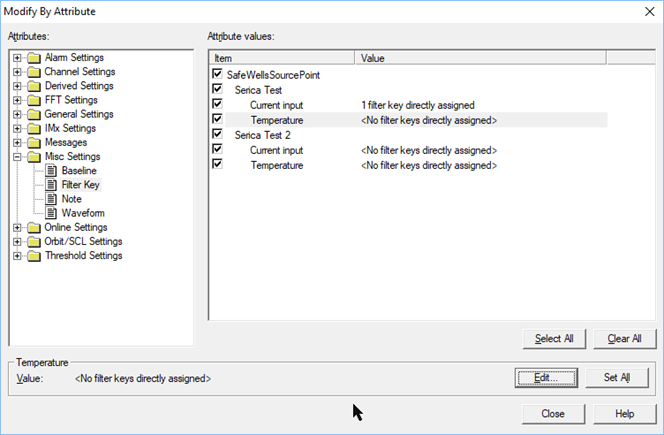
Now select the point with the assigned key
- Check the Tick marks are set for all the points that need a copy of the filter key settings.
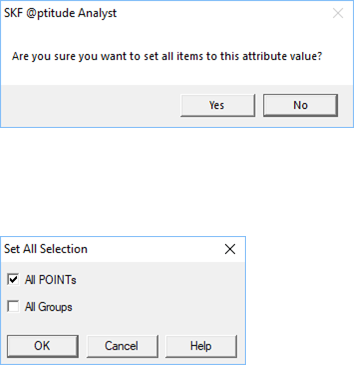
- Select the [ Set All ] button
The following dialogs are visble, Make sure that only "All Points is selected"
Check if the filter keys are assigned:
When this is correct, close the Modify by attribute and close the work-space
the workspace is still available for later use. The work-space stays in the database until it is deleted
Comments
0 comments
Please sign in to leave a comment.